DJI Phantom 3 IMU Calibration (Complete Guide)
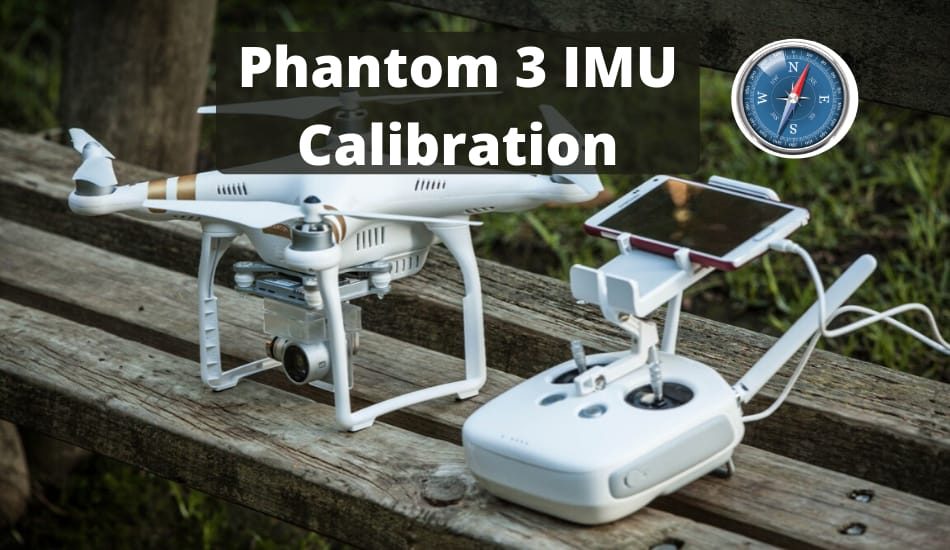
DJI Drones sometimes prompts you to calibrate your drone’s IMU. About 90% of quadrocopters are sold in the Ready to Fly state, which allows you to use them right away. But in the process of transportation or after the first launch, the settings may go astray and the DJI Phantom 3 begins to perform chaotic movements and not obey the owner. To correct this problem and don’t have phantom 3 imu error, it is necessary to calibrate the device (drone). Procedure for DJI Phantom 3 IMU calibration is very simple, easy and it takes between 5 to 10 minutes to set. Here we will tell you everything about DJI Phantom 3 IMU calibration, reset fixex and flight errors.
With IMU calibration you will fix Phantom 3 problems that includes a barometer, gyroscope and accelerometer. A calibration that you will have to do imperatively not only if the application requests it but also each time the drone is updated and in the event of a significant change of location (long-distance travel, change in temperature, etc.). Before you begin, it is important to know that you will have to perform these maneuvers on a flat and perfectly stable surface.
IMU Calibration Phantom 3 Procedure:
| Steps: | Procedure: |
|---|---|
| 1 Step: | Charge a Battery at Least 50% |
| 2 Step: | Calibration Must be Done At a Room Temp & Flat Surface |
| 3 Step: | Connect Remote Controller & Power Up The Phantom 3 |
| 4 Step: | Open DJI GO app |
| 5 Step: | Start the IMU Calibration |
Why Do I Need IMU Calibration?
Drones flight is based on the acceleration and deceleration of propellers, which allow you to choose the direction of movement and hover in one place. The stabilization of these actions is carried out on-board computer based on information received from accelerometers and gyroscopes.
The drone is controlled from the control panel, which provides communication between the drone pilot and the on-board computer. With proper setup, the quadcopter will easily execute all of these commands. If you start the aircraft in flight without first checking it, you can damage or lose the device. Therefore, first calibrate the gyroscope, then check the connection of the drone with the control panel. At the last step, trimmers are adjusted to ensure the effect of freezing in the air.
DJI Phantom 3 IMU Calibration Procedure
If you notice that your DJI Phantom 3 is not flying properly during the flight, lower it to the ground as soon as possible. This is most often due to dji phantom 3 imu error. Make sure if some warning lights appear on the drone and are there some warning signals on the DJI Pilot App. With these warnings you will easily troubleshoot the problems that you have on your drone. Although DJI Phantom 3 requires IMU calibration, you can also calibrate the remote controller of your Phantom 3. Here we will go through both procedures.
5 Steps How To Calibrate IMU on DJI Phantom 3
The DJI Phantom 3 must be placed on a flat surface and the drone must not move or the IMU calibration procedure will fail. Also if the IMU is out of sync mode, it will be necessary to repeat this same procedure several times.
1 Step: Battery Charge at Least 50%
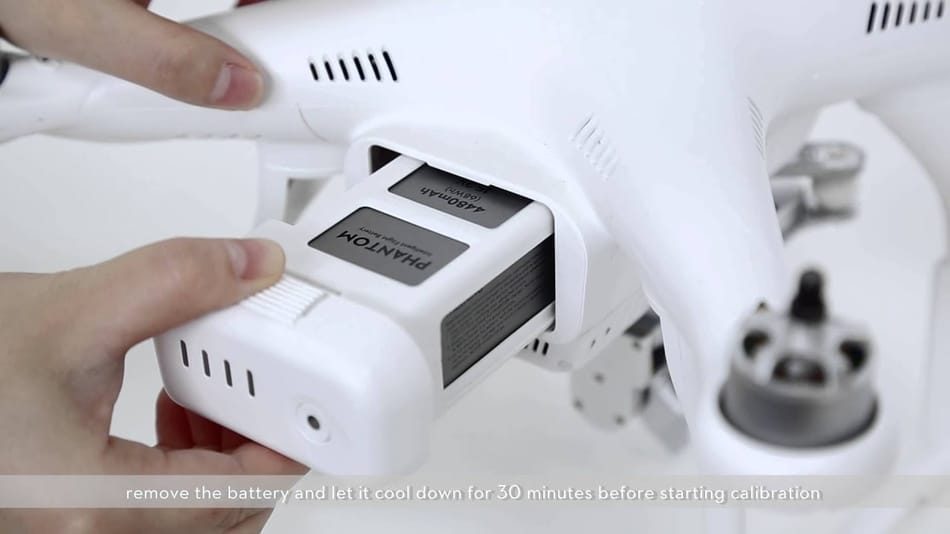
Your battery must be at least 50% charged on your Phantom 3 to be able to complete this process. This will avoid any battery alerts and you will be able to continue with the IMU calibration process. Charge the battery and let it cool down fo 30 minutes so you can avoid overheating during calibration.
2 Step: Calibration At a Room Temp & Flat Surface

Try to do calibration at a room temperature indoors. The preferred temperature is from 20 to 25 degrees Celsius. Before you start IMU calibration process, find a flat surface and place your DJI Phantom 3 there. Make sure that the surface is flat by using the level function on your phone.
3 Step: Connect Remote Controller & Power Up The Phantom
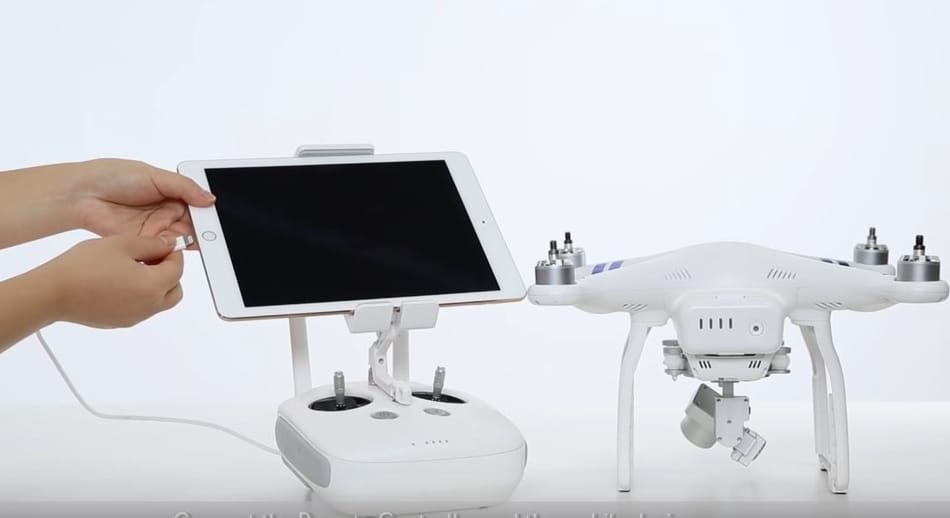
First thing you need to do now is to connect your remote controller and mobile device by switching on your Phantom 3. Remove the drone propellers. (Don’t turn on the motors). Also power up the Remote Control, and then the DJI Phantom 3.
4 Step: Open DJI GO app
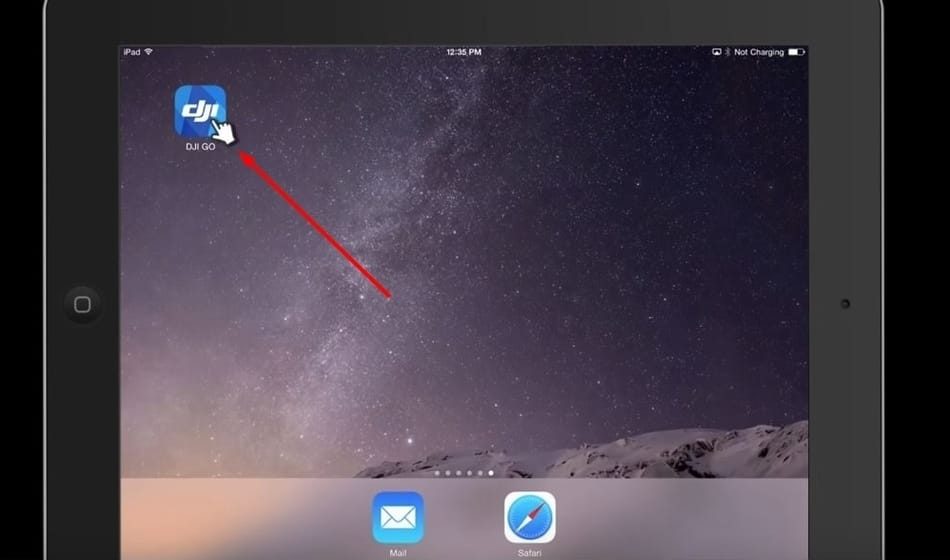
Second step is to open the DJI Go app on your mobile device and click on „Enter Camera View“. Then find the „Setup“ icon on the screen in top corner and enter it.
5 Step: Start the IMU Calibration
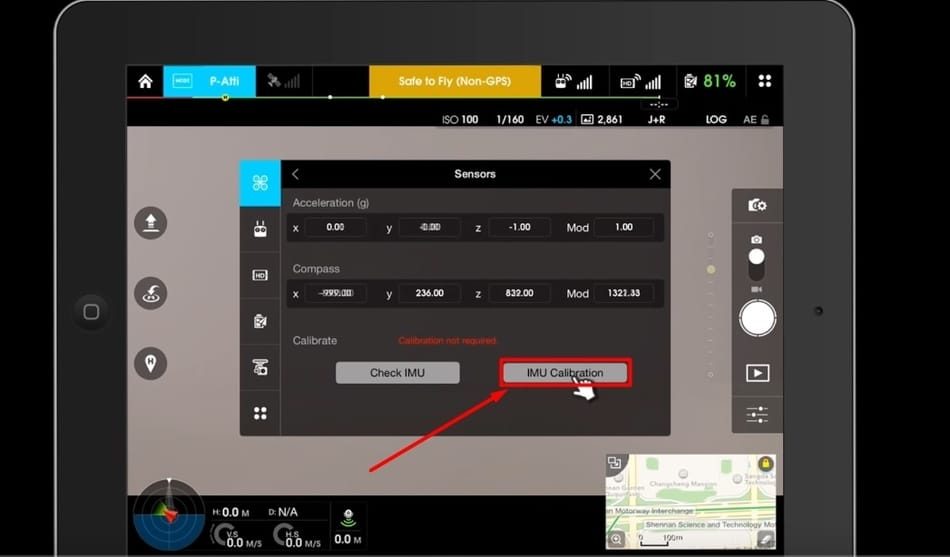
Next steep is to tap the „Sensors“ setting, find the IMU and click „IMU Calibration“. You need to see if there are any error messages. If not, an “OK” pop up message will appear which you will need to confirm to start the calibration process. This process will take from 5 to 10 minutes.
The DJI Go app will notify you when the entire calibration process has been completed. If an error occurs during the calibration, just repeat the above steps and try again. At the end the calibration process bar will reach 100%.
For those who want to know more, below you have 2 videos showing an even more detailed view of the IMU calibration on the DJI Phantom 3. Also, what you should pay attention to is to see is there a new firmware upgrade available. With these updates you will fix all the bugs and issues that your quadcopter have.
https://www.youtube.com/watch?v=4WGZUl5n1fA
Important: After calibration, restart the drone!
If the problem could not be fixed in this way, it may be worth paying attention to the state of the accelerometer. Perhaps you had some kind of hard landing or long transportation (trains / planes, etc.). This could affect the accuracy of the IMU. Even if the drone does not report a problem with the IMU, you should still calibrate it.
Updates and Firmware
DJI regularly releases software firmware. If your existing version works well, do not rush to install the new version immediately after its release. The first reviews and releases can be read on the forums about possible errors in the new software.
How to Calibrate Remote Controller on Phantom 3
Often the problems with setting up the drone lie in the remote control. Typically, such difficulties arise when trying to start homemade devices. You will need to configure the remote control so that it transmits accurate data via a radio signal and forces the drone to do exactly what you want to get from it. If this process is performed poorly, the equipment will receive incorrect signals during the flight. Due to the uncalibrated remote control, the copter may not give out the desired flight speed or may not turn in one direction. The setting method depends on the manufacturer.
Most simple remotes are configured using a complex procedure:
- You will need to read the instructions in order to accurately understand the procedure for the desired model;
- Usually the product is turned on with an autonomous power source, which you can turn off if necessary;
- Listen and read the number of sound signals, fix the color and the number of flashes of the light alarm;
- The first setting should be made with the flight speed controller, then with the height and direction sticks;
- Carefully put the sticks in neutral positions so as not to shift the calibration.
Here is the video where you can see the full steps how to calibrate your remote controller.
https://www.youtube.com/watch?v=w6fCd2gWQzc
Safety Tips For IMU Calibration
- Do not operate the motors from the radio control
- Respect the order of the different calibration positions to avoid failure
- if calibration fails, simply restart the device and try again
- For optimum safety, remove the propellers
Watch For Errors and Warnings
If DJI Go reports errors (usually red in the upper center of the screen) do not ignore this warning! This may be a compass error or other miscalculations of automation. Do not try to continue the flight!
Often the following situation will help to correct the problem:
- Reboot the device and DJI Go application;
- Reboot Phantom and remote control;
- Calibration of IMU (inertial measuring unit) in the DJI Go application (MC Settings-Sensors-IMU Calibration);
- Calibrate the compass in an open area, away from metal (IMPORTANT: many concrete surfaces contain reinforcement metal).
Conclusion
In this article, we have described the detailed procedure of DJI Phantom 3 IMU calibration problem and how you can fix it with few simple steps. These problems can sometimes happen so you need to react in time to save your drone from unwanted consequences. I hope this article has helped you and that you now know how to solve this problem. If you have any questions, feel free to leave a comment below or you can visit the DJI Support and Forums.


